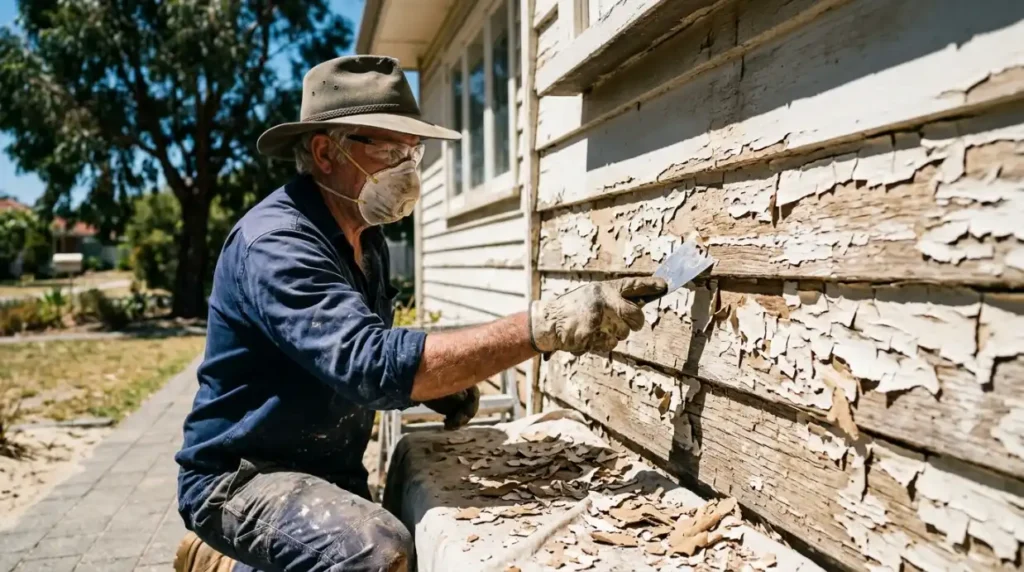
You expected your paint job to last 10 years. Films have the weatherboards after 18 months, lying in sheets. The tin reportedly had a long lifespan, but that wasn’t the case.
Normally, the paint itself was not the issue. What was running under it: The time between a paint’s first coat and the completion of its service life is determined by paint preparation: washing, scraping, filling, sanding, and priming. In this area, summer heat, high UV levels, and salty air put all coats to the test, and so does skipping prep. In this post, we’re going to discuss what the proper process for preparing paint is, what professionals look for when receiving a paint quote, and how to determine if the quote skips the details.
Quick Answer: First and foremost, answer: Paint Preparation is more important than the paint itself, as paint sticks as well as the surface under it. Whatever the brand, clean, sound, sanded, and primed surfaces maintain a long-lasting finish, while surfaces that are dirty, chalky, or flaking don’t last long. If proper preparation is not done, it will lead to a failure of the repaint, usually needing to be redone.
The Articulation of Preparation for Paint.
Paint is a cover and could adhere as well as the underlying surface. Dust-like material, grease, a chalky residue, mould, or old paint that comes off easily decreases that grip. You can apply good-looking paint over all of them, and it will all peel, blister, or flake. When it doesn’t, it costs more!
That is why sometimes the form of preparation of the paint is more important than its brand in the tin. If the paint is applied to the surface, a mid-range paint, on a clean and solid surface, can outlast a top-shelf paint placed on a dirty surface. We have found that the cause of most paint failures in the early stages is related to the surface and not the paint.
Why surface preparation is not as easy with Perth’s climate.Why surface preparation can be difficult in Perth due to its climate.
As with most surfaces, this requires some local variations:
- Very strong UV when applied to old paint causes it to break down, leading to a powdery chalkiness on the surface. During the installation, new paint cannot adhere to chalk, so it is necessary to remove it by washing or sanding.
- In coastal areas, the salt air creates an adhesion-blocking film in the proximity of the coast, between Cottesloe and Rockingham. It requires re-washing with fresh water, not a cleaning spree.
- Cracks and gaps will form as timber expands and contracts throughout the summer and require filling or sealing.
- Water and salts can permeate limestone and render and will cause the paint to flake as a fine, white, crumbling film. The cause should be mended to rectify the problem.
- Windblown sand and grit will fall onto walls, sills and eaves and should be removed by washing before sanding or priming.
Timing matters too. Often, a surface heated directly during the hottest part of the day will also dry out paint, potentially causing blisters and poor adhesion. Good Painters plan for the sun and adhere to temperature specifications given on the product label.
So what is professional surface preparation?
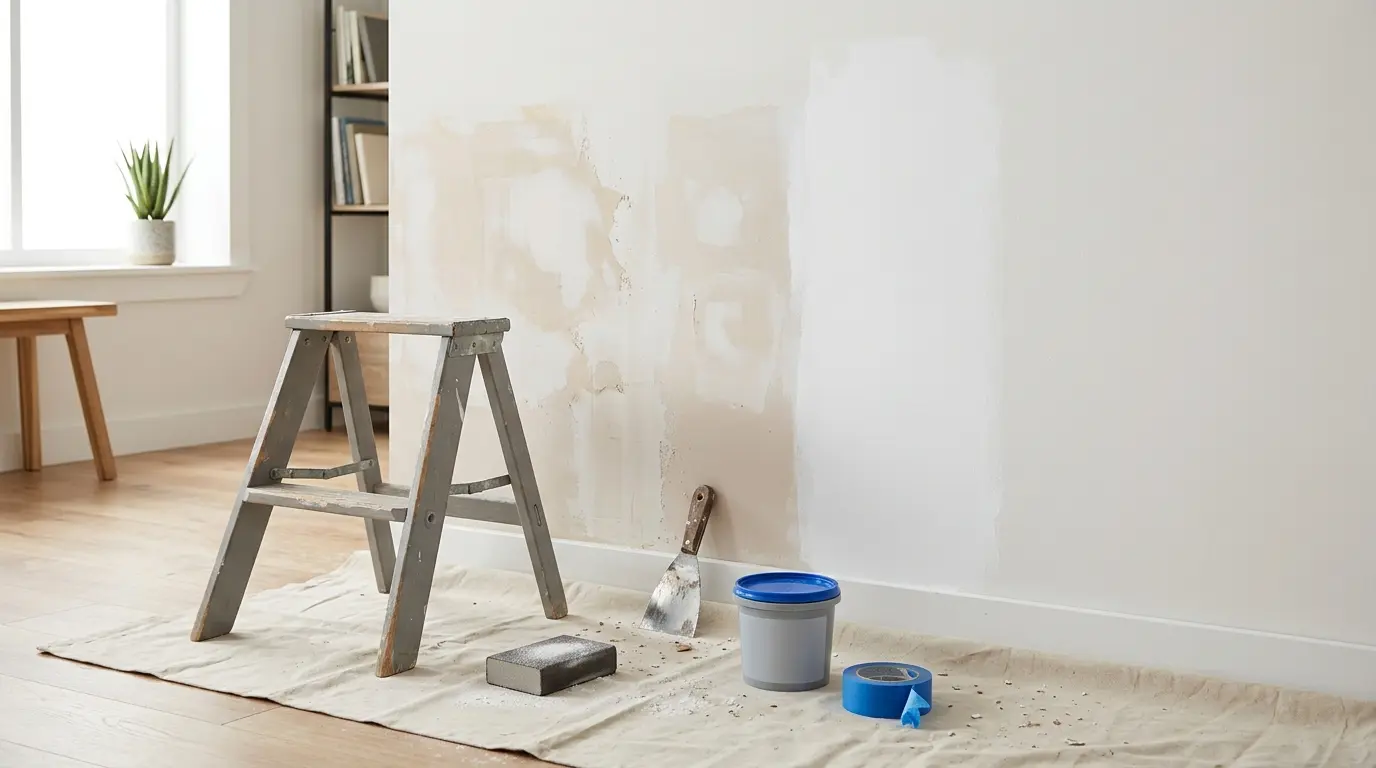
Care should be taken with paint preparation in a definite order. A professional is not just going to go over to a tin and begin to roll.
1. Inspect and Test
Checks for peeling, cracks, rot, rust, mould/damp and asks about any previous leaks. If there are moisture issues, they are the priority feature since paint does not stick to a wall containing wetness.
2. Clean Thoroughly
Exteriors are pressure washed/scrubbed to remove dirt, chalk, mould and salt. Interiors receive a wipe-down; sugar soap or degreaser is used in kitchens and bathrooms.
3. Scrape, Sand and Repair
All loose paint is removed and sanded down to a hard surface. Rotten areas and leaks are fixed, cracks and holes are patched, gaps are caulked, and rusty areas are treated.
4. Prime and Seal
All bare timber, patchwork damage, colors, and shiny finishes are given primer or sealer. Helps paint to bond and provides an even finish.
Illustrates what each of the Prep Steps is preventing
This table indicates what type of protection is provided by each application of paint preparation stages.
- Additional steps before normal prep: Additional topic to cover before usual prep. What it covers if it is not covered in normal prep.
- Cleaning: Choking, cracking, or peeling finish
- Problems can occur when you have loose paint or glossy paint that flakes or is rough. Issues may arise if the paint is loose, glossy, flaking, and rough.
- Deterioration, cracks, holes, gaps. Filling and sealing of cracks, holes, gaps; visible deterioration of cracks, water getting in.
- Adheres to wiping primer, patching, or staining bare areas (when needed). Does not skip areas of primer and does not have stains bleed through (when needed). Writes and patches unevenly; some sections do not work at all.
- Don’t miss out on these panel matching features: Masking Edges and fixtures. Messy lines and Paint on trims.
Interior Painting Perth: Prep Work In Home Interiors.
Inside, it’s not about the weather; it is about everyday wear:
- Kitchens and bathrooms: grease and steam form a film on the surfaces where coats of paint will flake off, with mould requiring treatment, not painting.
- Patched walls: If there are patches, they absorb the paint in different ways and may appear as dull spots if they are not spot-primed.
- Color changes: Dark to Light, generally requires primer and additional coats.
- Glossy door and trim: new paint needs to be primed with a light sanding to bond.
Mid- and older Homes: Test Before You Sand.
Older buildings (pre-1970s) may use lead-based paints, and some older fiber cement sheeting may be asbestos. Either one can emit hazardous dust when done through sanding, scraping, or pressure washing. For older houses, ask for any materials suspected to harbor asbestos to be tested prior to the beginning of work, and make sure the painter has familiarity with safe-work procedures.
How to Identify a Quote That’s Missing the Prep
The scope, not the price, is the comparison criterion when assessing Perth professional painters that homeowners can choose from. If a quote does not require the preparation of paint, then it is less expensive for a reason. Red flags include:
- No sanding, washing, repairs, or priming is mentioned.
- “One Coat over Any of the Rest” guarantees
- A rate much lower than the others, without reason
- No written scope and/or warranty details
An explanatory form of the good quote: Prep and number of coats. Before you start receiving quotes for house painting, Perth properties need to ensure that the same job is being quoted for each estimate.
6 Common Paint Preparation Mistakes to Avoid:
- Overpainting old, flaking, or chalky paint
- Applying primer where it is not needed
- Failure to address the root source of damp, water leakage, and mould first
- Painting on hot or moist surfaces.
- Impatiently over-drying between washings, filling, and coats.
Preparing paint can come at an extra expense and add extra time to the painting project.
Prep can be more work and labor-intensive, and on older or weathered dwellings it can be a significant portion of the activities. They’re normal and are what you are paying for. Single-room temporary rentals can begin as low as a few hundred dollars, and higher house rentals will be more expensive.
The approximate schedule is: One room will require about one or two days, including preparation; three to five days will be required for a full house. If repairs are needed, they take longer and are more expensive if it is a rust or peeling issue. Please request an itemized quote, as this will show you what is permitted for each phase.
Frequently Asked Questions
What is paint preparation?
Paint preparation is everything done to a surface before the first coat goes on. It includes cleaning, scraping, sanding, filling cracks and holes, fixing damage, masking, and priming. Good paint preparation helps the new paint bond properly, so the finish looks smoother and lasts longer.
How long does painting prep take?
It depends on the surface and its condition. A single room may need a few hours of prep, while a weathered full-house exterior can take a day or more before any paint goes on. Heavy repairs, rust, or peeling add time. A good painter confirms the timeline in your quote.
Do I need to prime before painting?
Usually, yes, on bare timber, patched areas, stains, glossy surfaces, and big color changes. Primer helps paint stick, evens out absorbency and blocks stains. Sound, previously painted walls in a similar color may only need a clean and light sand. Your painter should tell you which areas need it.
Can you paint over peeling paint?
You shouldn’t. New paint can’t grip a failing layer, so it peels again, often with the old paint attached. Peeling areas should be scraped back to a firm edge, sanded smooth, spot-primed, and filled where needed. Painting over it only hides the problem for a short time.
Should painting prep be included in a quote?
Yes. A proper quote lists the preparation work, such as washing, scraping, sanding, repairs, and priming, along with the paint and number of coats. If a quote says only “paint walls” and gives no prep details, ask what’s included before you accept.
Want honest advice on paint preparation for your home? Request a free quote from City Painters WA today.